So, after some trials and tribulations, Squishy is (mostly) alive hardware wise!
That's not to say it was all smooth sailing, but lets track back a bit and start from the beginning.
A few months ago, we finally got the boards and parts in. I must say, the boards came out looking amazing, I will never get tired of white silkscreen, matte black soldermask, and ENIG plating, it is just always stunning.
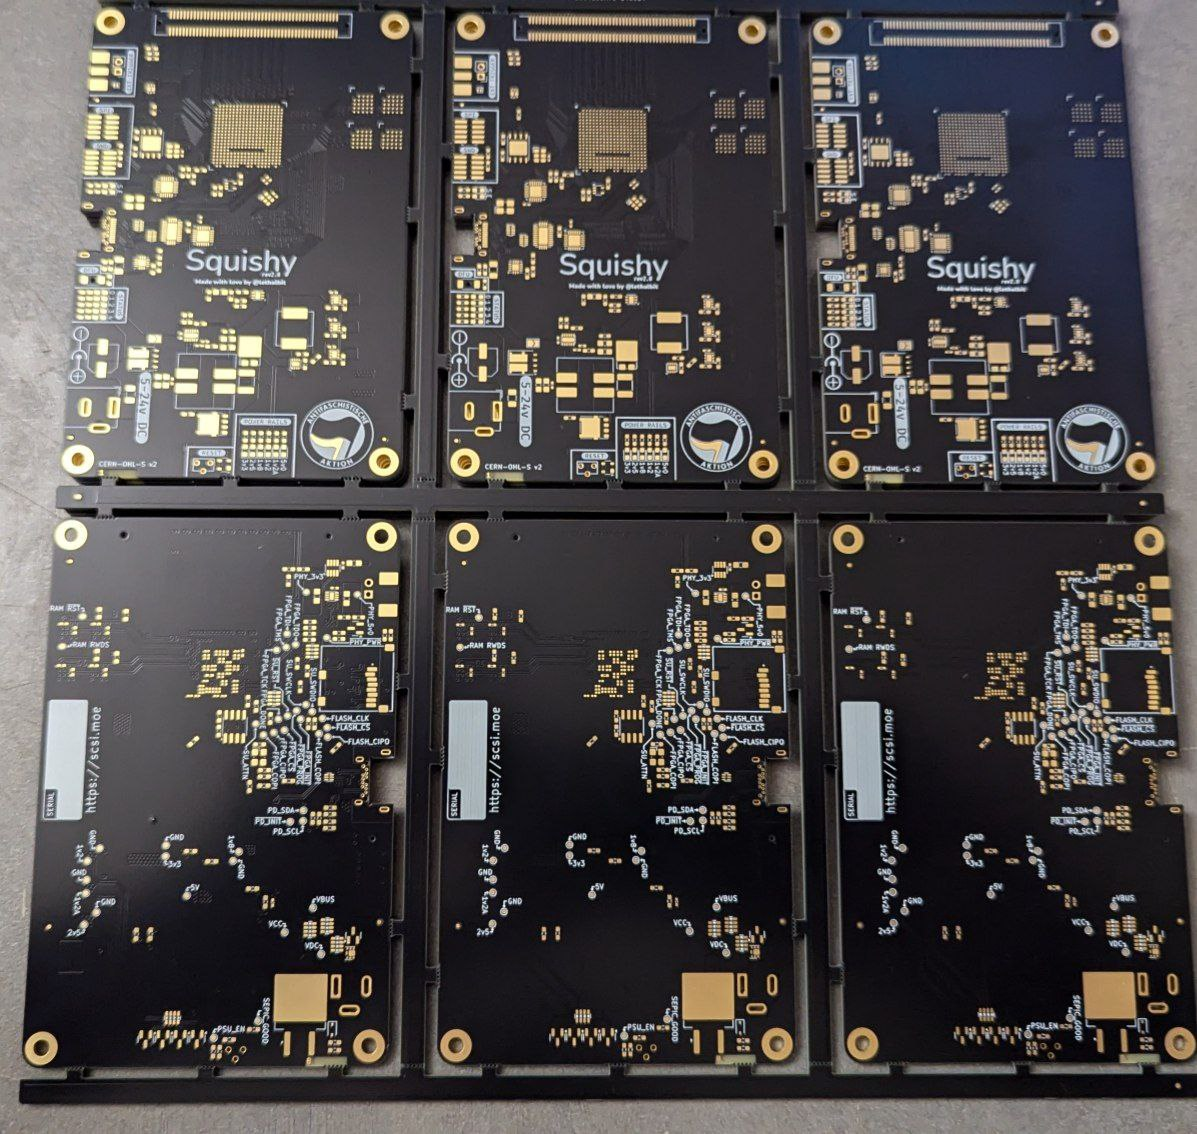 The blank Squishy PCBs, showing 2 panels, one showing the front the other showing the back
And, of course, Annie was instantly interested in doing quality control and inspection on them, and the parts.
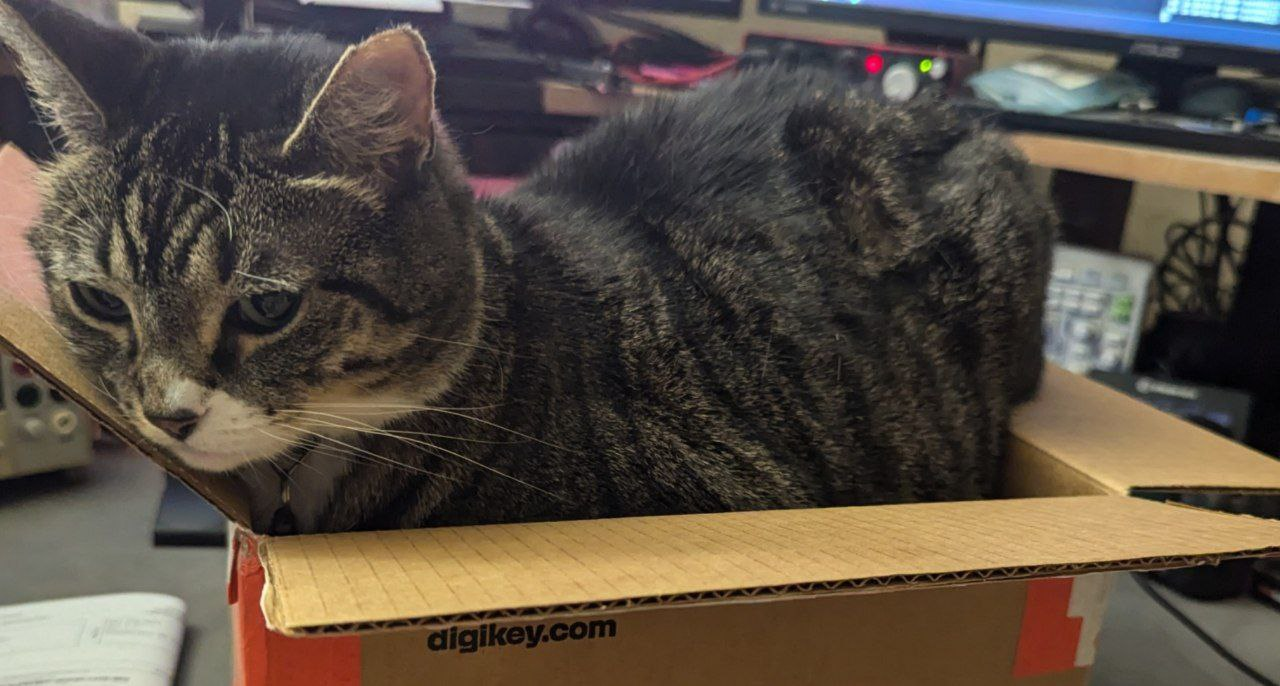 Annie sitting in the freshly opened DigiKey box
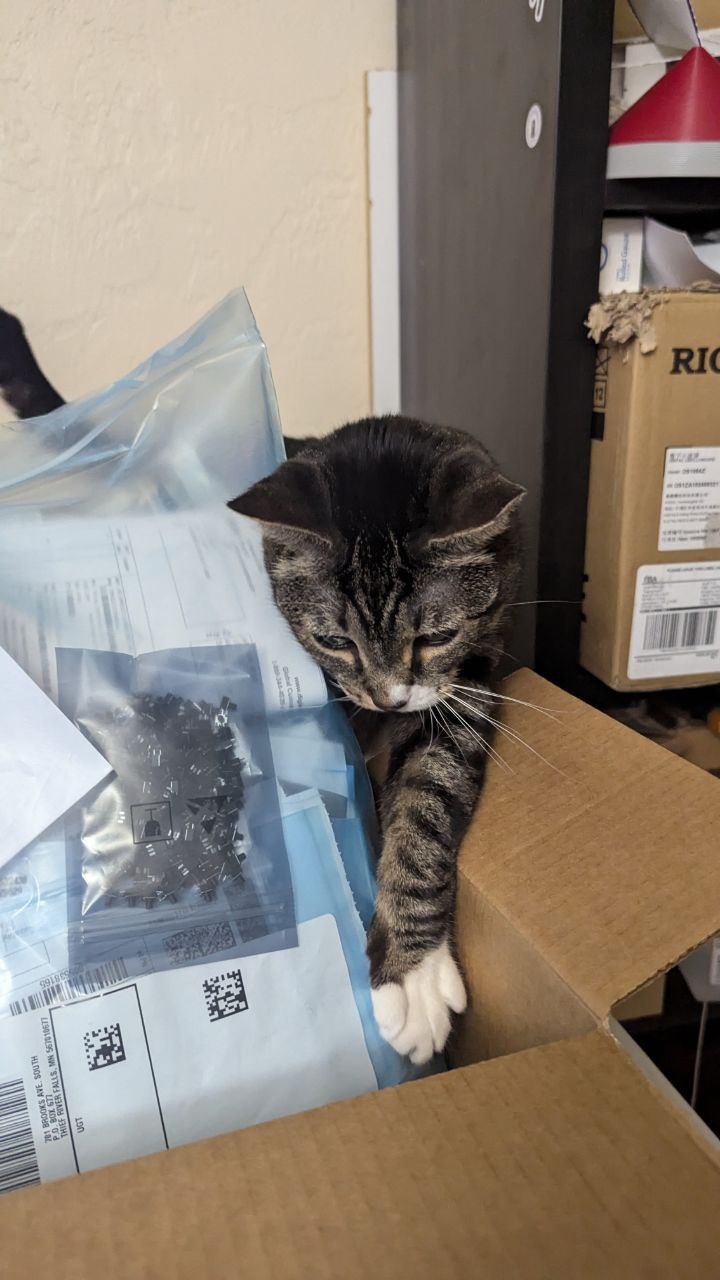 Annie pawing at the contents of the DigiKey box
 Annie, sleeping in the DigiKey box as happy as can be.
Just look at her, she is just a little problem child, but I love her all the same.
Where were we? Ah, right, Squishy.
Next up, was getting them assembled, this took the longest, mainly due to having to borrow someone elses time and Pick and Place machine (thanks esden!).
This was done just a few weeks ago as of writing, and I must say, they came out superb!
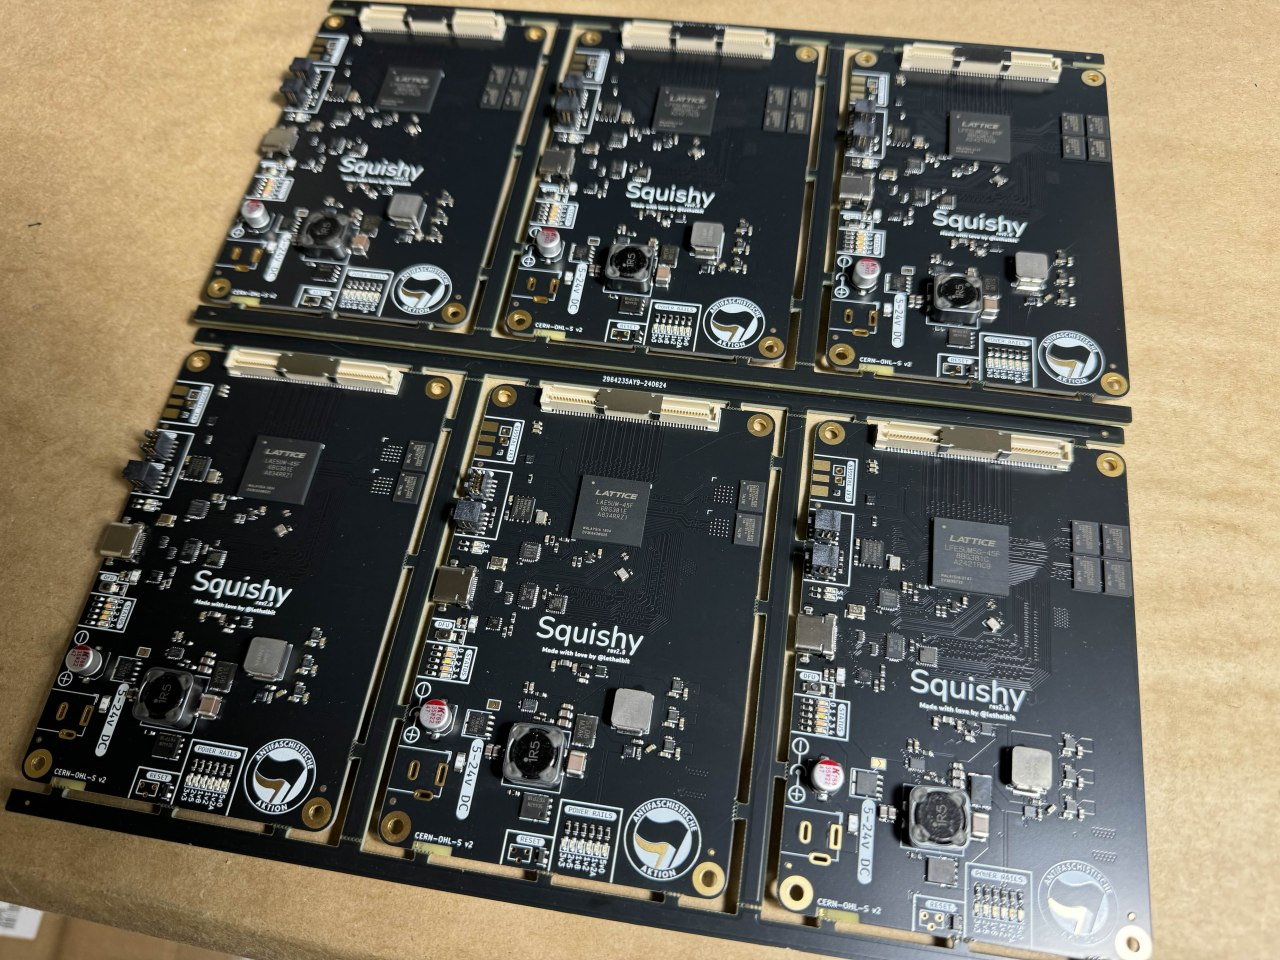 Two panels of assembled squishy boards, for a total of 6
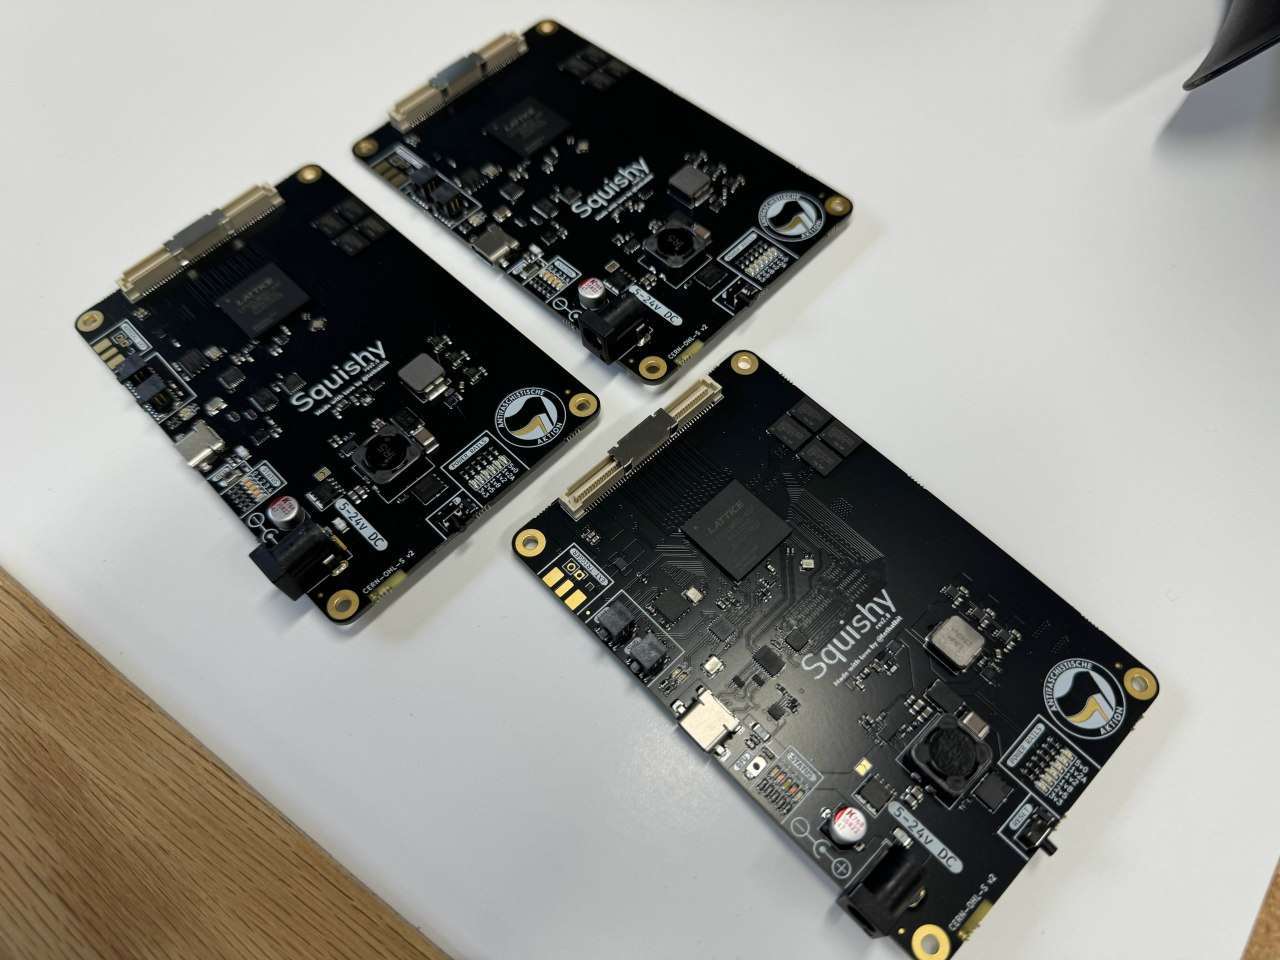 Three of the assembled squishys, out of the panel, with DC jacks and reset buttons soldered in.
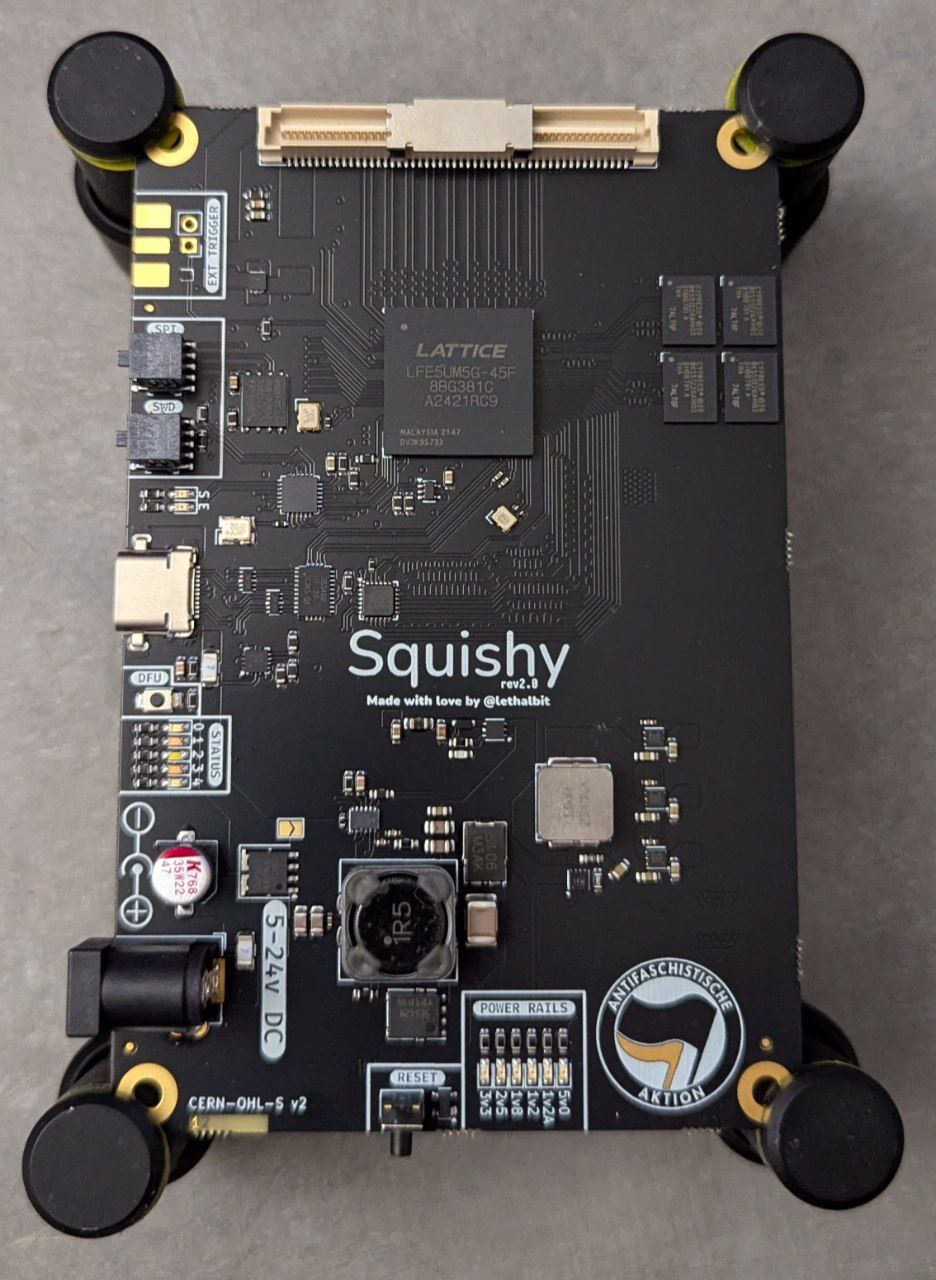 Three of the assembled squishys, out of the panel, with DC jacks and reset buttons soldered in.
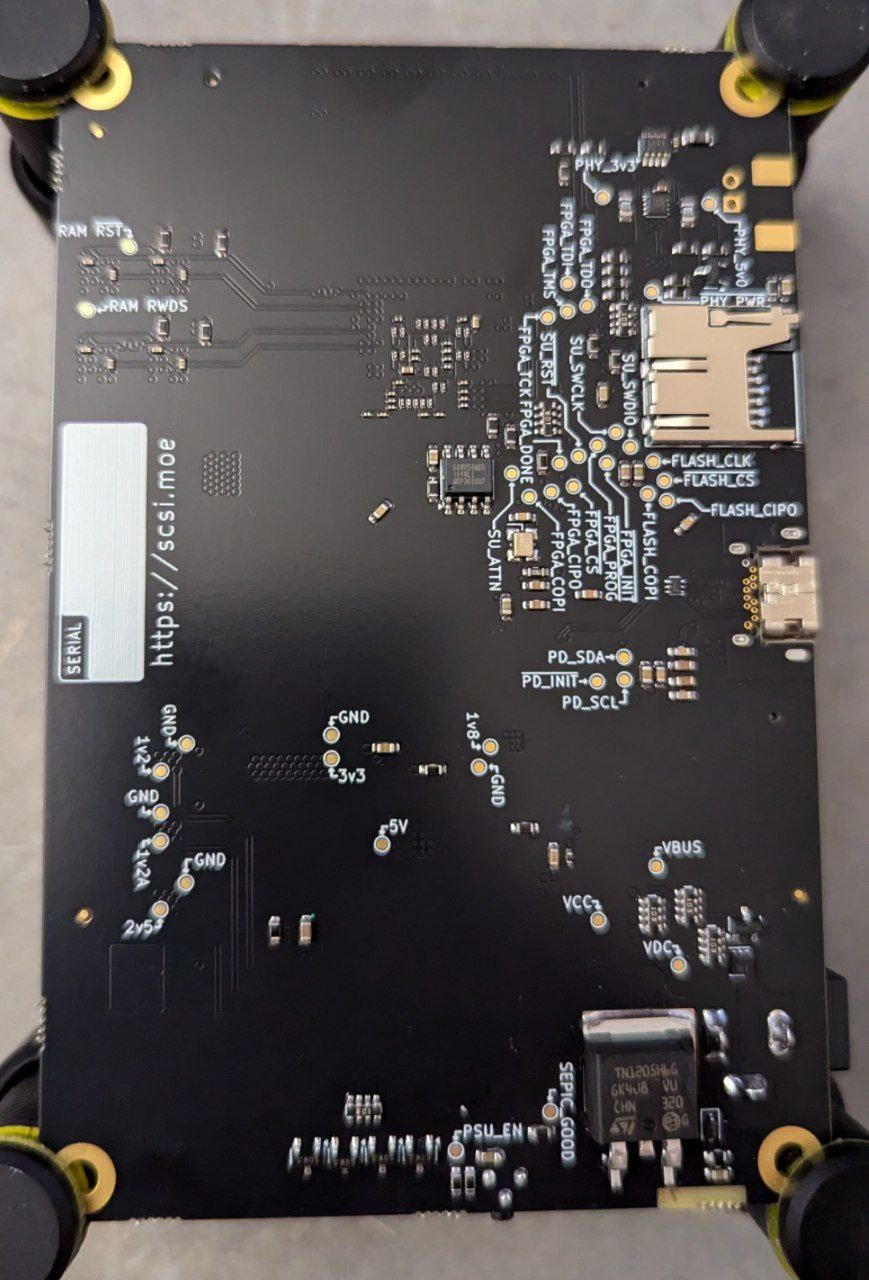 Three of the assembled squishys, out of the panel, with DC jacks and reset buttons soldered in.
Sadly, like most engineering/validation hardware on the first revision, there were some cough errata cough that needed to be identified and fixed.
The first thing was, while it passed the "smoke test" as it were, the units were dead, no power to the SEPIC supply, and it wasn't just one or two, this was all of them, so that means it was a fundamental design flaw, ohno.
Here is where I thank esden and my wife, where they took the initiative and narrowed down the problem while I was being a depressed blob. It turns out, Q1 which is the main SEPIC switching MOSFET was backwards. Now, this wasn't a footprint issue, the footprint was correct, but this was a symbol issue, as KiCad has a billion different variations on MOSFETs G/S/D configurations because no one can agree on which pinout to use for them. In this case, the Source and Drain were swapped on the symbol pin numbers, meaning the body diode of the MOSFET was backwards, causing us to clamp the input power supply to ground, which will, ofc make it unhappy.
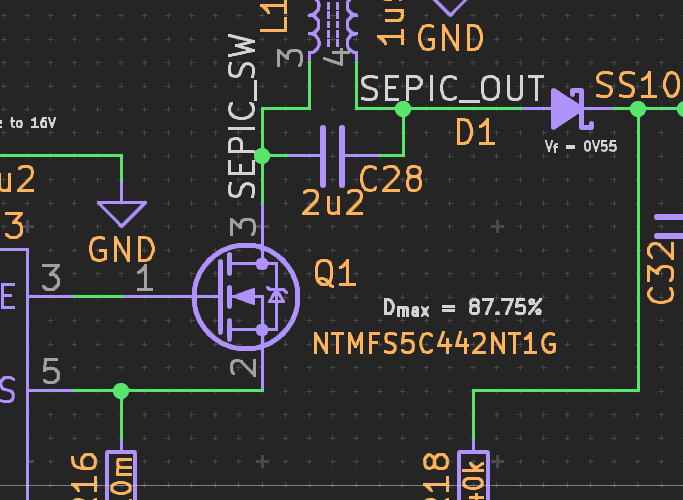 A screenshot of the Squishy SEPIC supply schematic showing the, now corrected MOSFET symbol
As you can see, if Pin 3 and Pin 2 are swapped then the body-diode would be upside-down, but with the corrected pin numbering it's happy. This did mean all 6 MOSFETs needed to be de-soldered, flipped, and dead-bugged, but it was fixable. Granted the SEPIC MOSFETs are not happy being on their back, they rather be using the large power pours to dump their heat into, but they will survive, and as these are EVT units, it's fine, it's not like we made a production run of 100 or more of them. Also thankfully, at least, we didn't power it via the DC jack, only USB, so we didn't draw enough current to pop the fuse.
The next problem, was that while the 3v3 and 1v8 supplies were coming up, the LDOs were not, and again, this was on all 6 boards, so yet another design mistake, sigh cool, cool.
This problem was also an easy to find one, thankfully, turns out, I mis-read the data-sheet for the LDOs and forgot to hook the BIAS pins up the the VCC supply, so they were not regulating and just in general being un-happy, but with a bodge wire to their input, everything was happy again.
And with that, we finally have LIFE!!!!
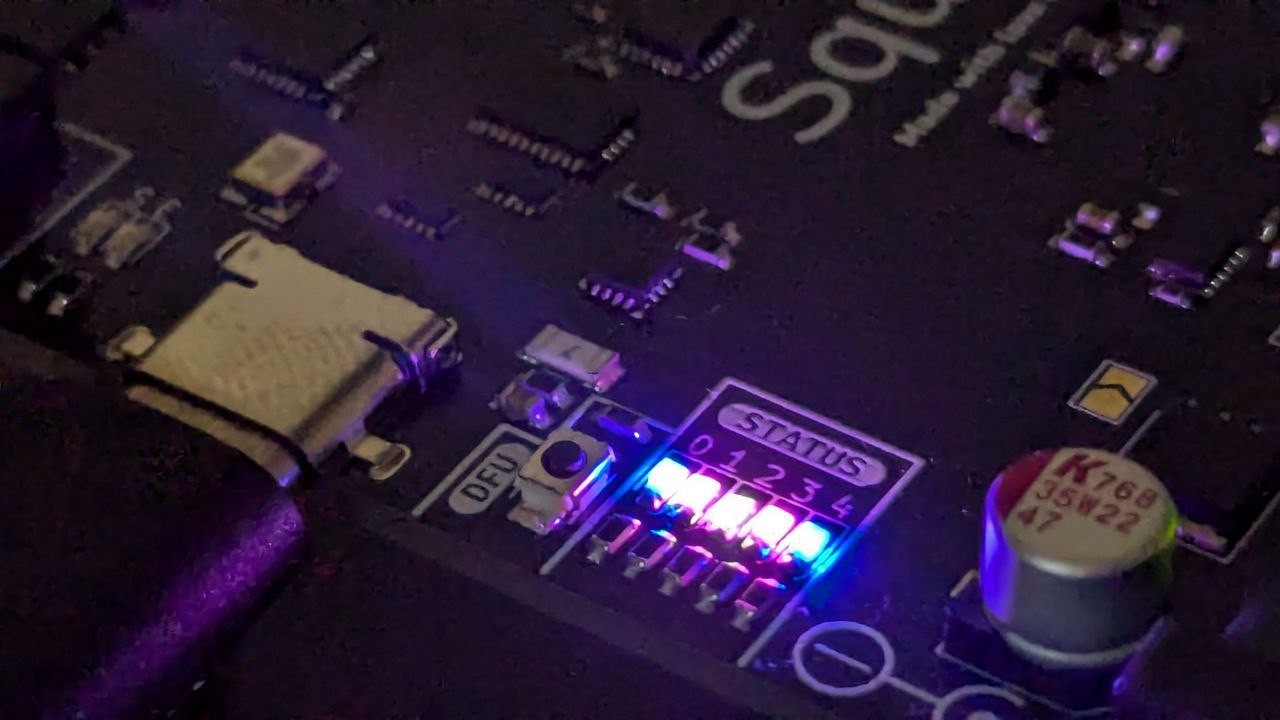 A close-up photo showing the Squishy status LEDs in the colors of the trans flag.
Well, almost, we can talk to the flash and the supervisor MCU, because thankfully there are headers, but we can't program the FPGA quite yet, this is mainly due to a silly design decision and not breaking out the FPGAs JTAG pins fully. So what we have to do, is bootstrap the supervisor MCU enough to be able to have it flash bitstream onto the FPGA to then start doing the rest of the validation, and that's where we are right this second.
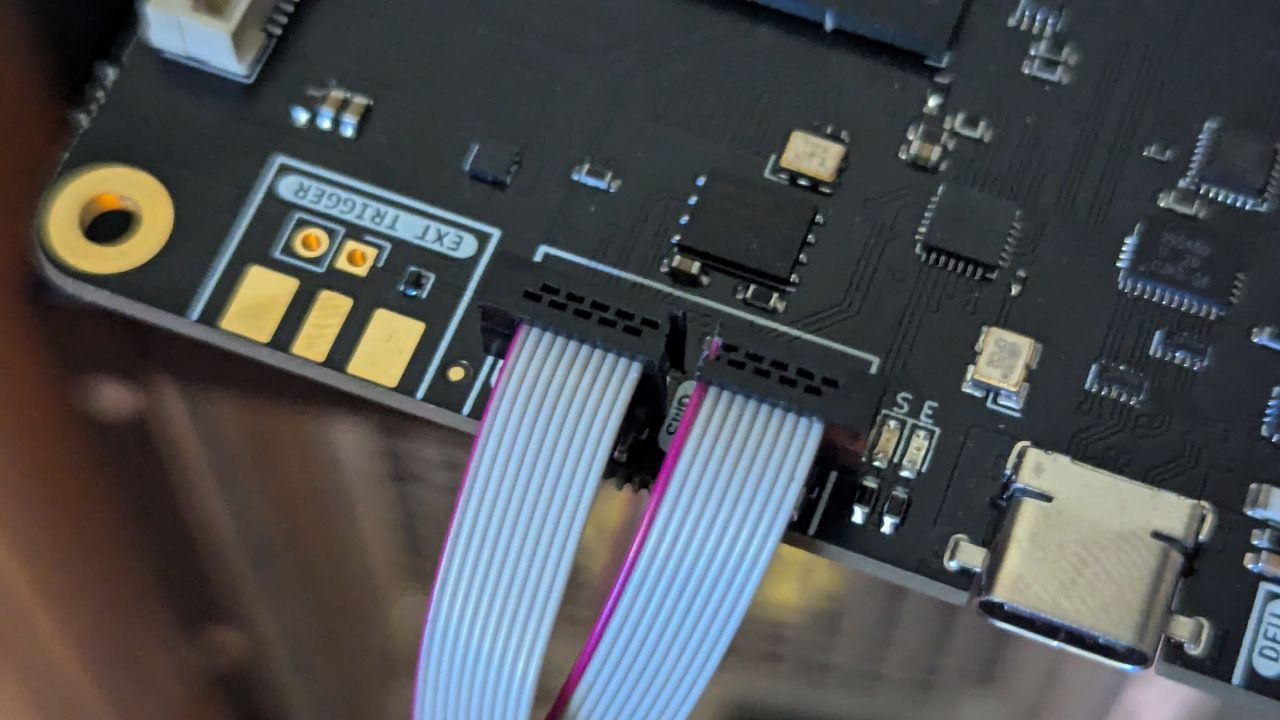 Two BMP connectors with the sides chopped off because they're too close together to both fit in at once
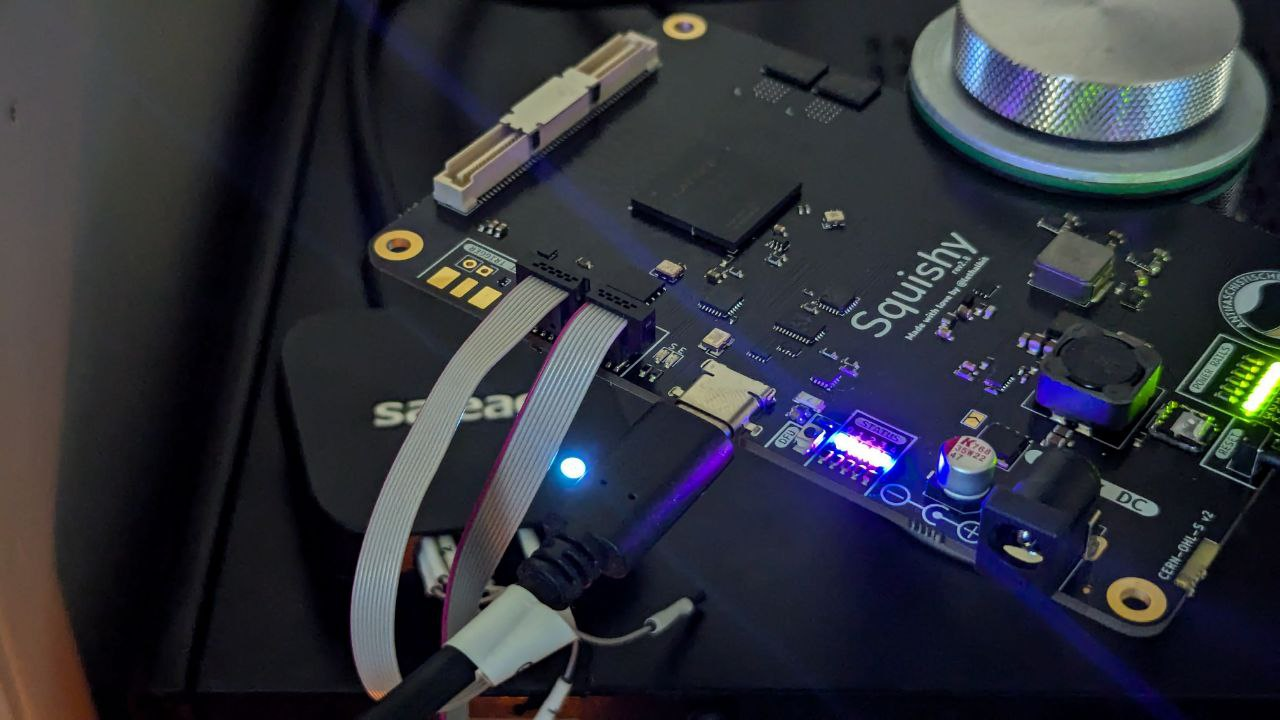 Squishy connected to a blackmagic debug probe and a logic analyzer trying to bring up the FLASH SPI bus
So, as it stands we are making slow but hopefully now steady progress. We are keeping track of the known evt errata as we find and fix it, and we have a batch of connectors coming down the pipeline for the SCSI interface. The LVD PHY still needs to have its schematic gone over again before the pain of layout happens for that. And of course continuing the bring-up of the main Squishy unit.
All in all it's taking longer than I would like, but I need to not beat myself up over it and take the time, otherwise it ends in tears.
I hope to be able update you all soon, until then, see you around!